
This is one that I feel like as a parent is so useful. Every time I turn around something new needs to be labeled. Whether its baby bottles, pacifiers, lunch boxes, or bags, I often found that my children would come home with belongings that weren’t ours. This tutorial outlines a quick way to create personalized name tags or labels using your cricut that can be used in a variety of ways.
(Daycare parents unite!) Honestly, I get that I don’t want anyone else to be drinking out my kids water bottle – they share enough germs as is – but the shoes – is it really necessary to label the shoes?
Random tangent aside, here is how I decided to try and make my life easier.
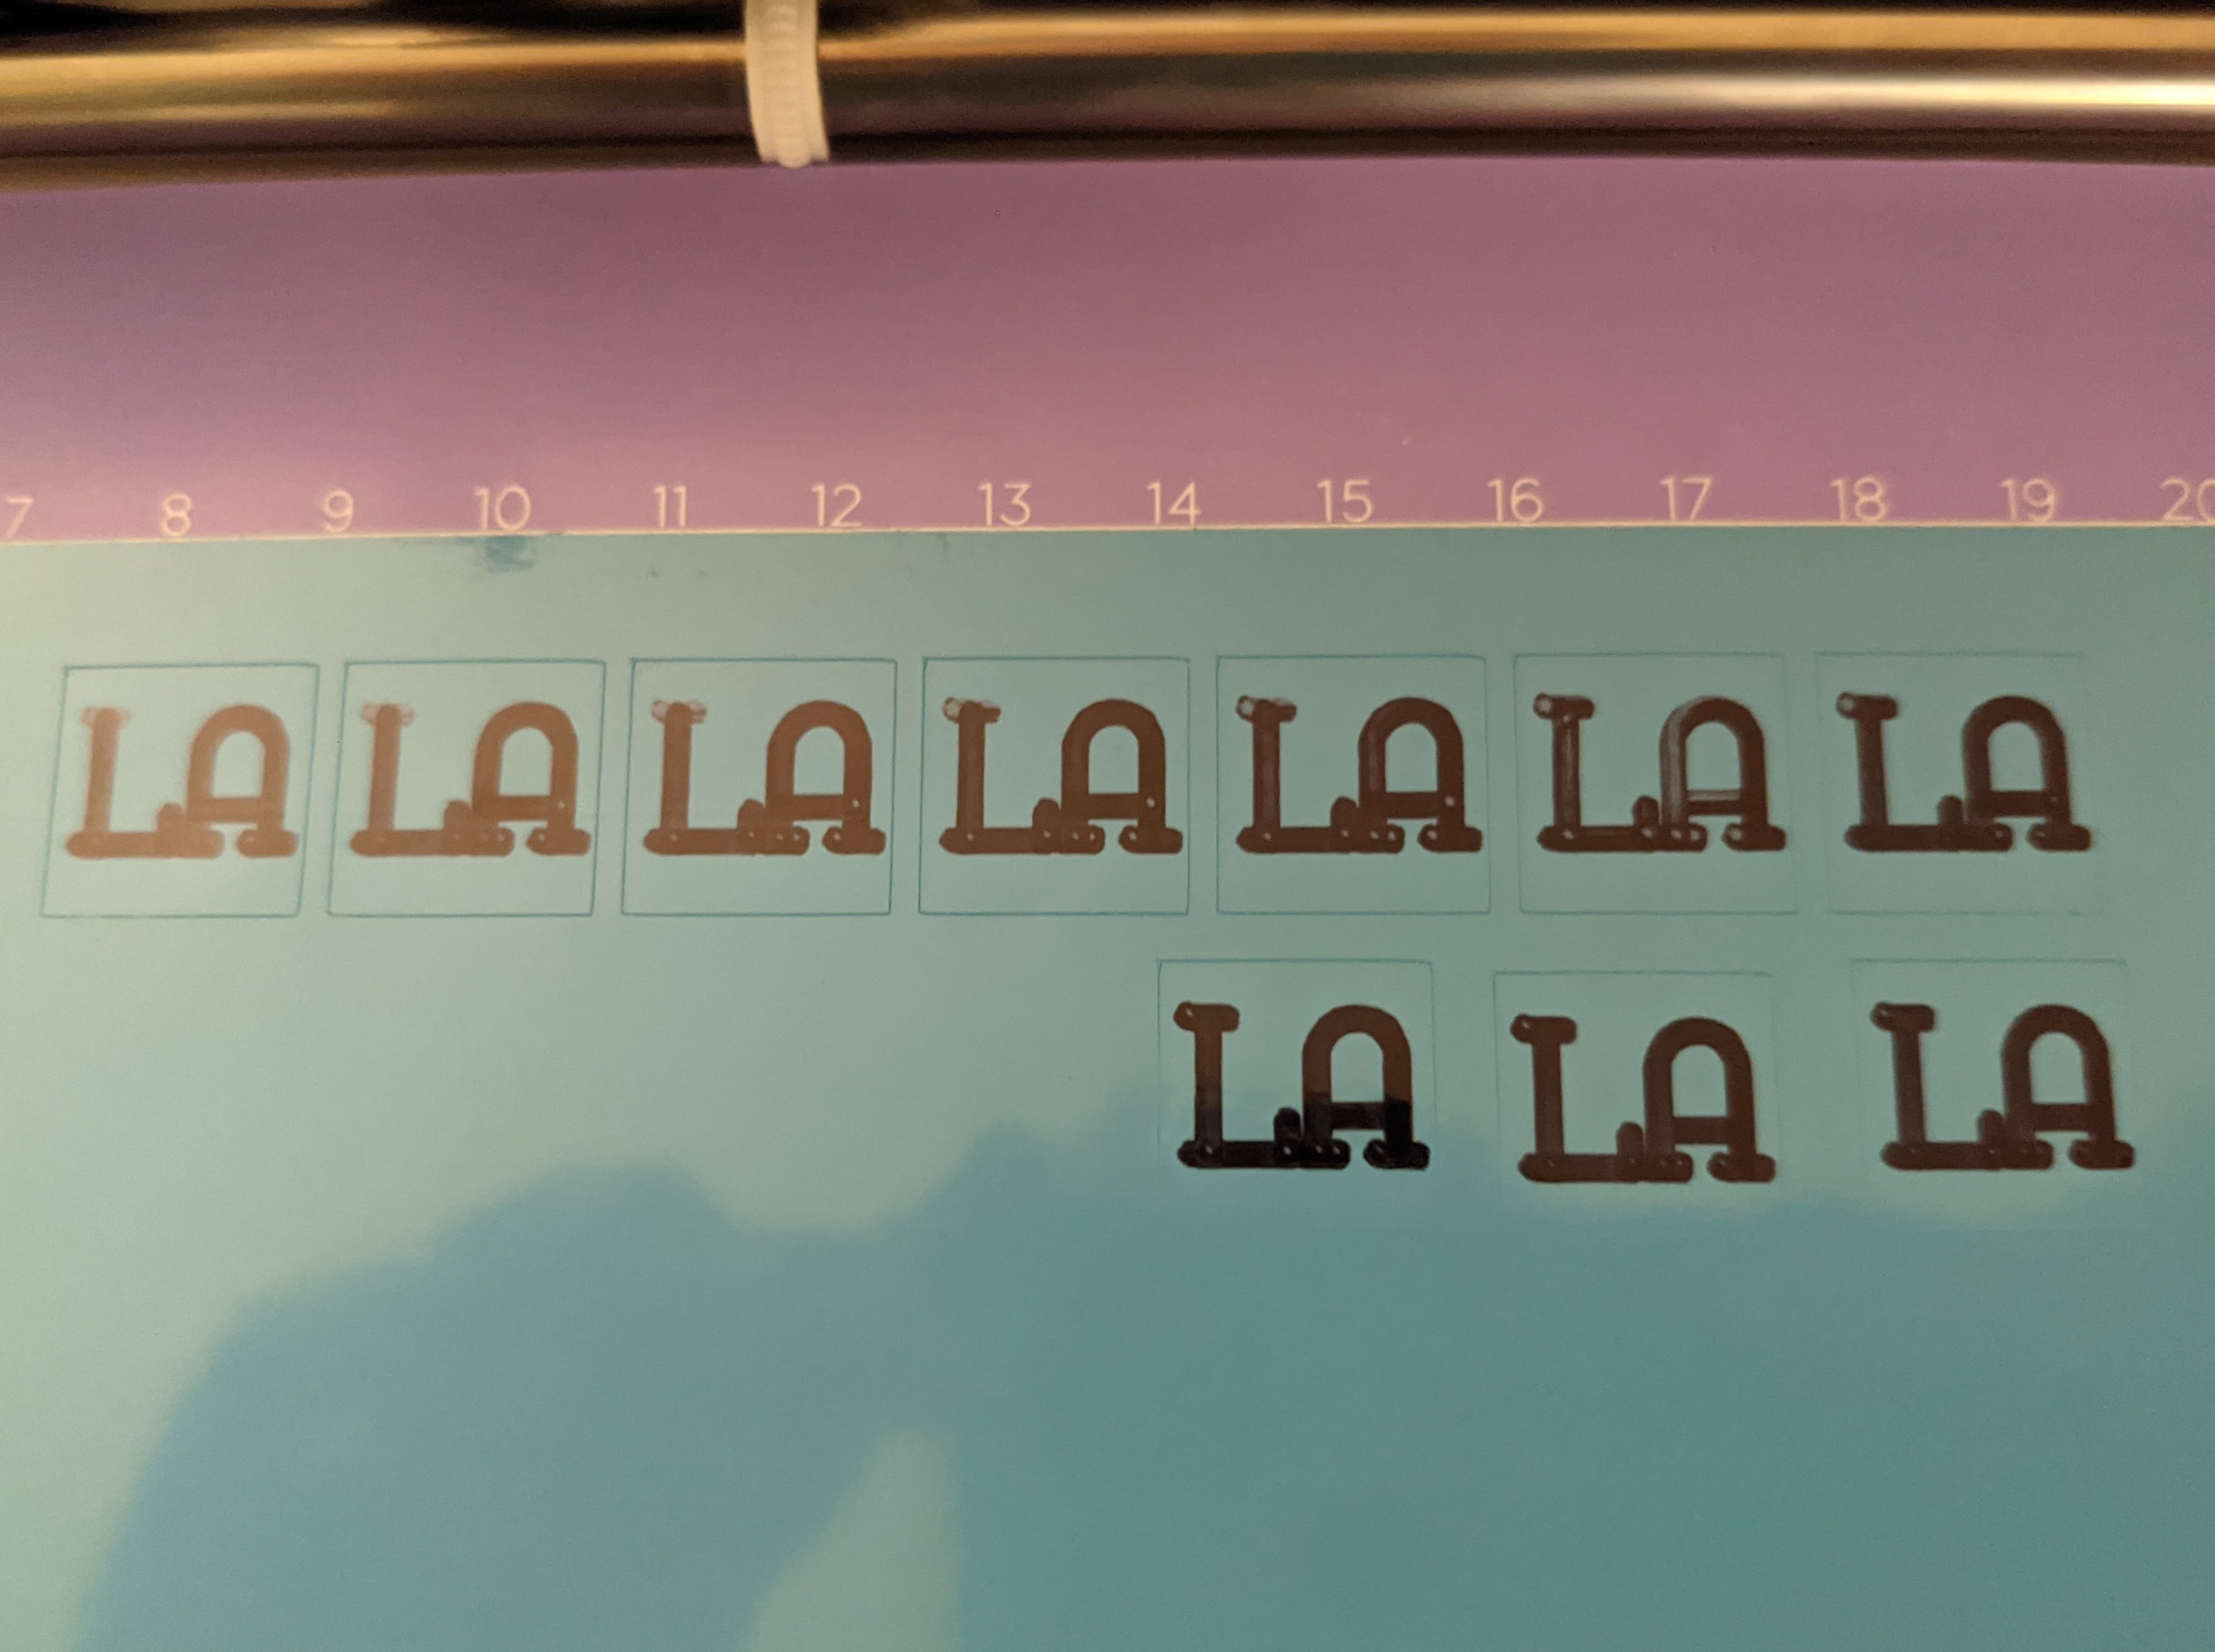
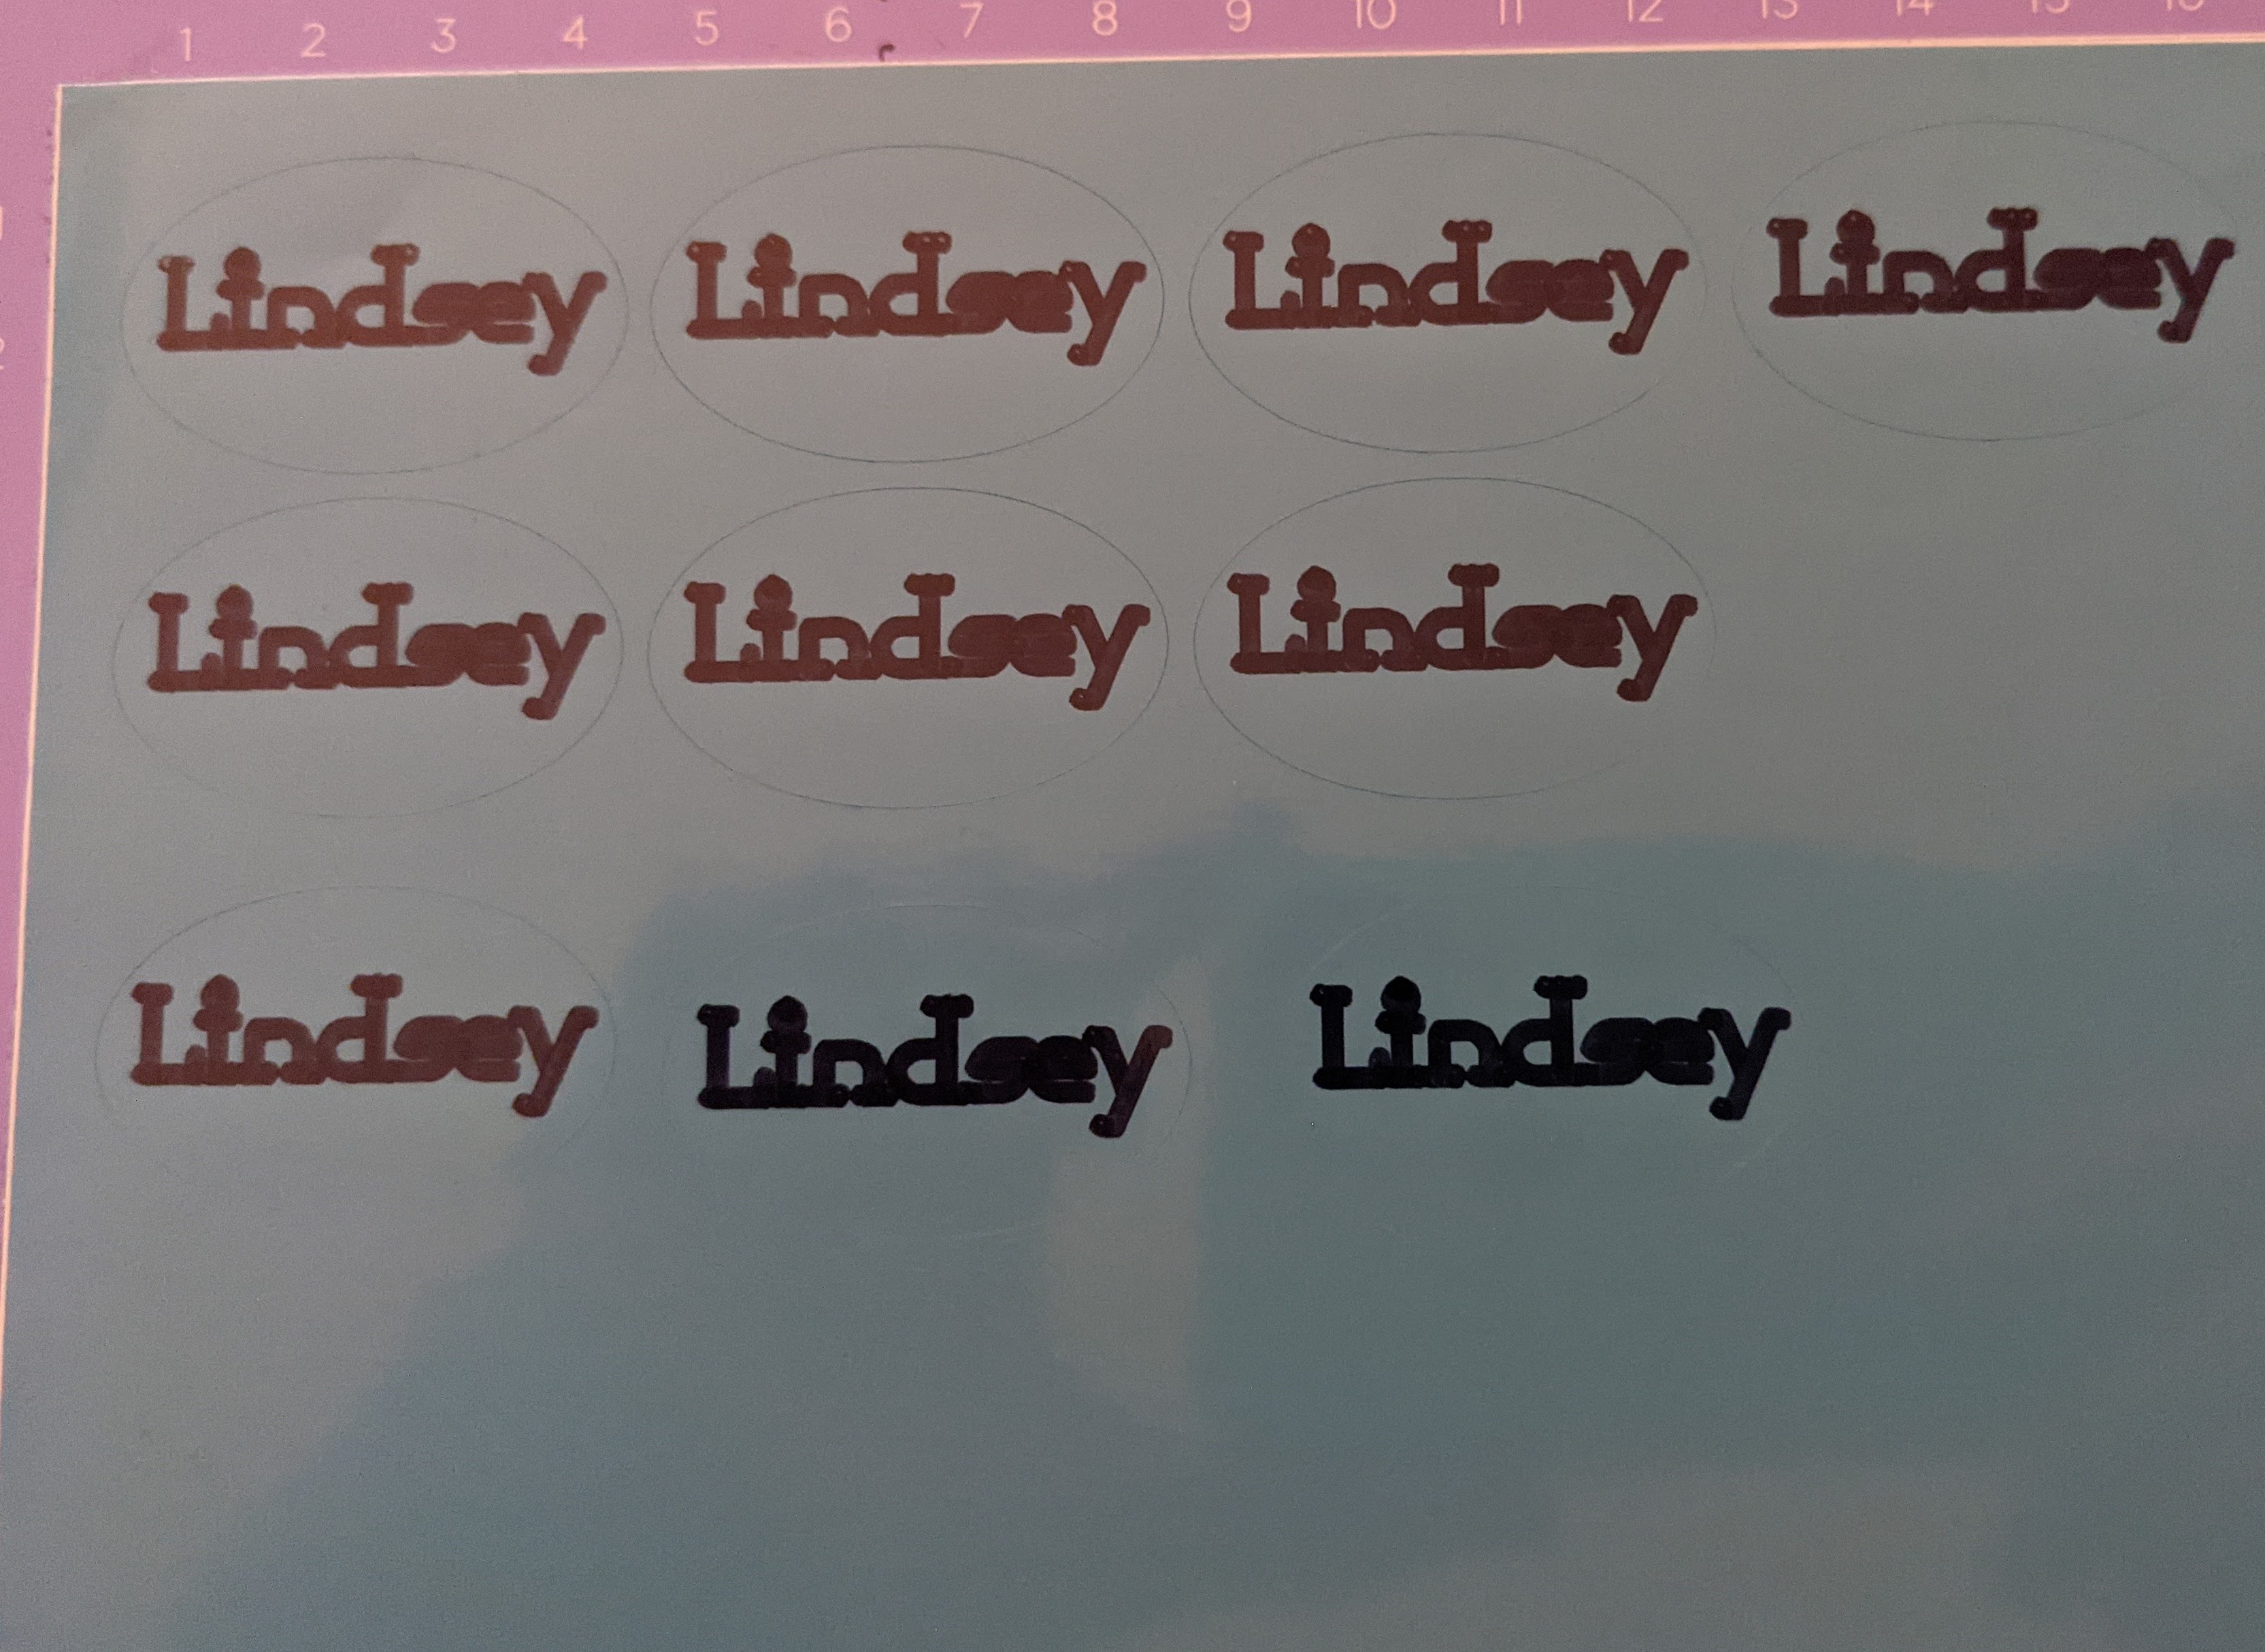
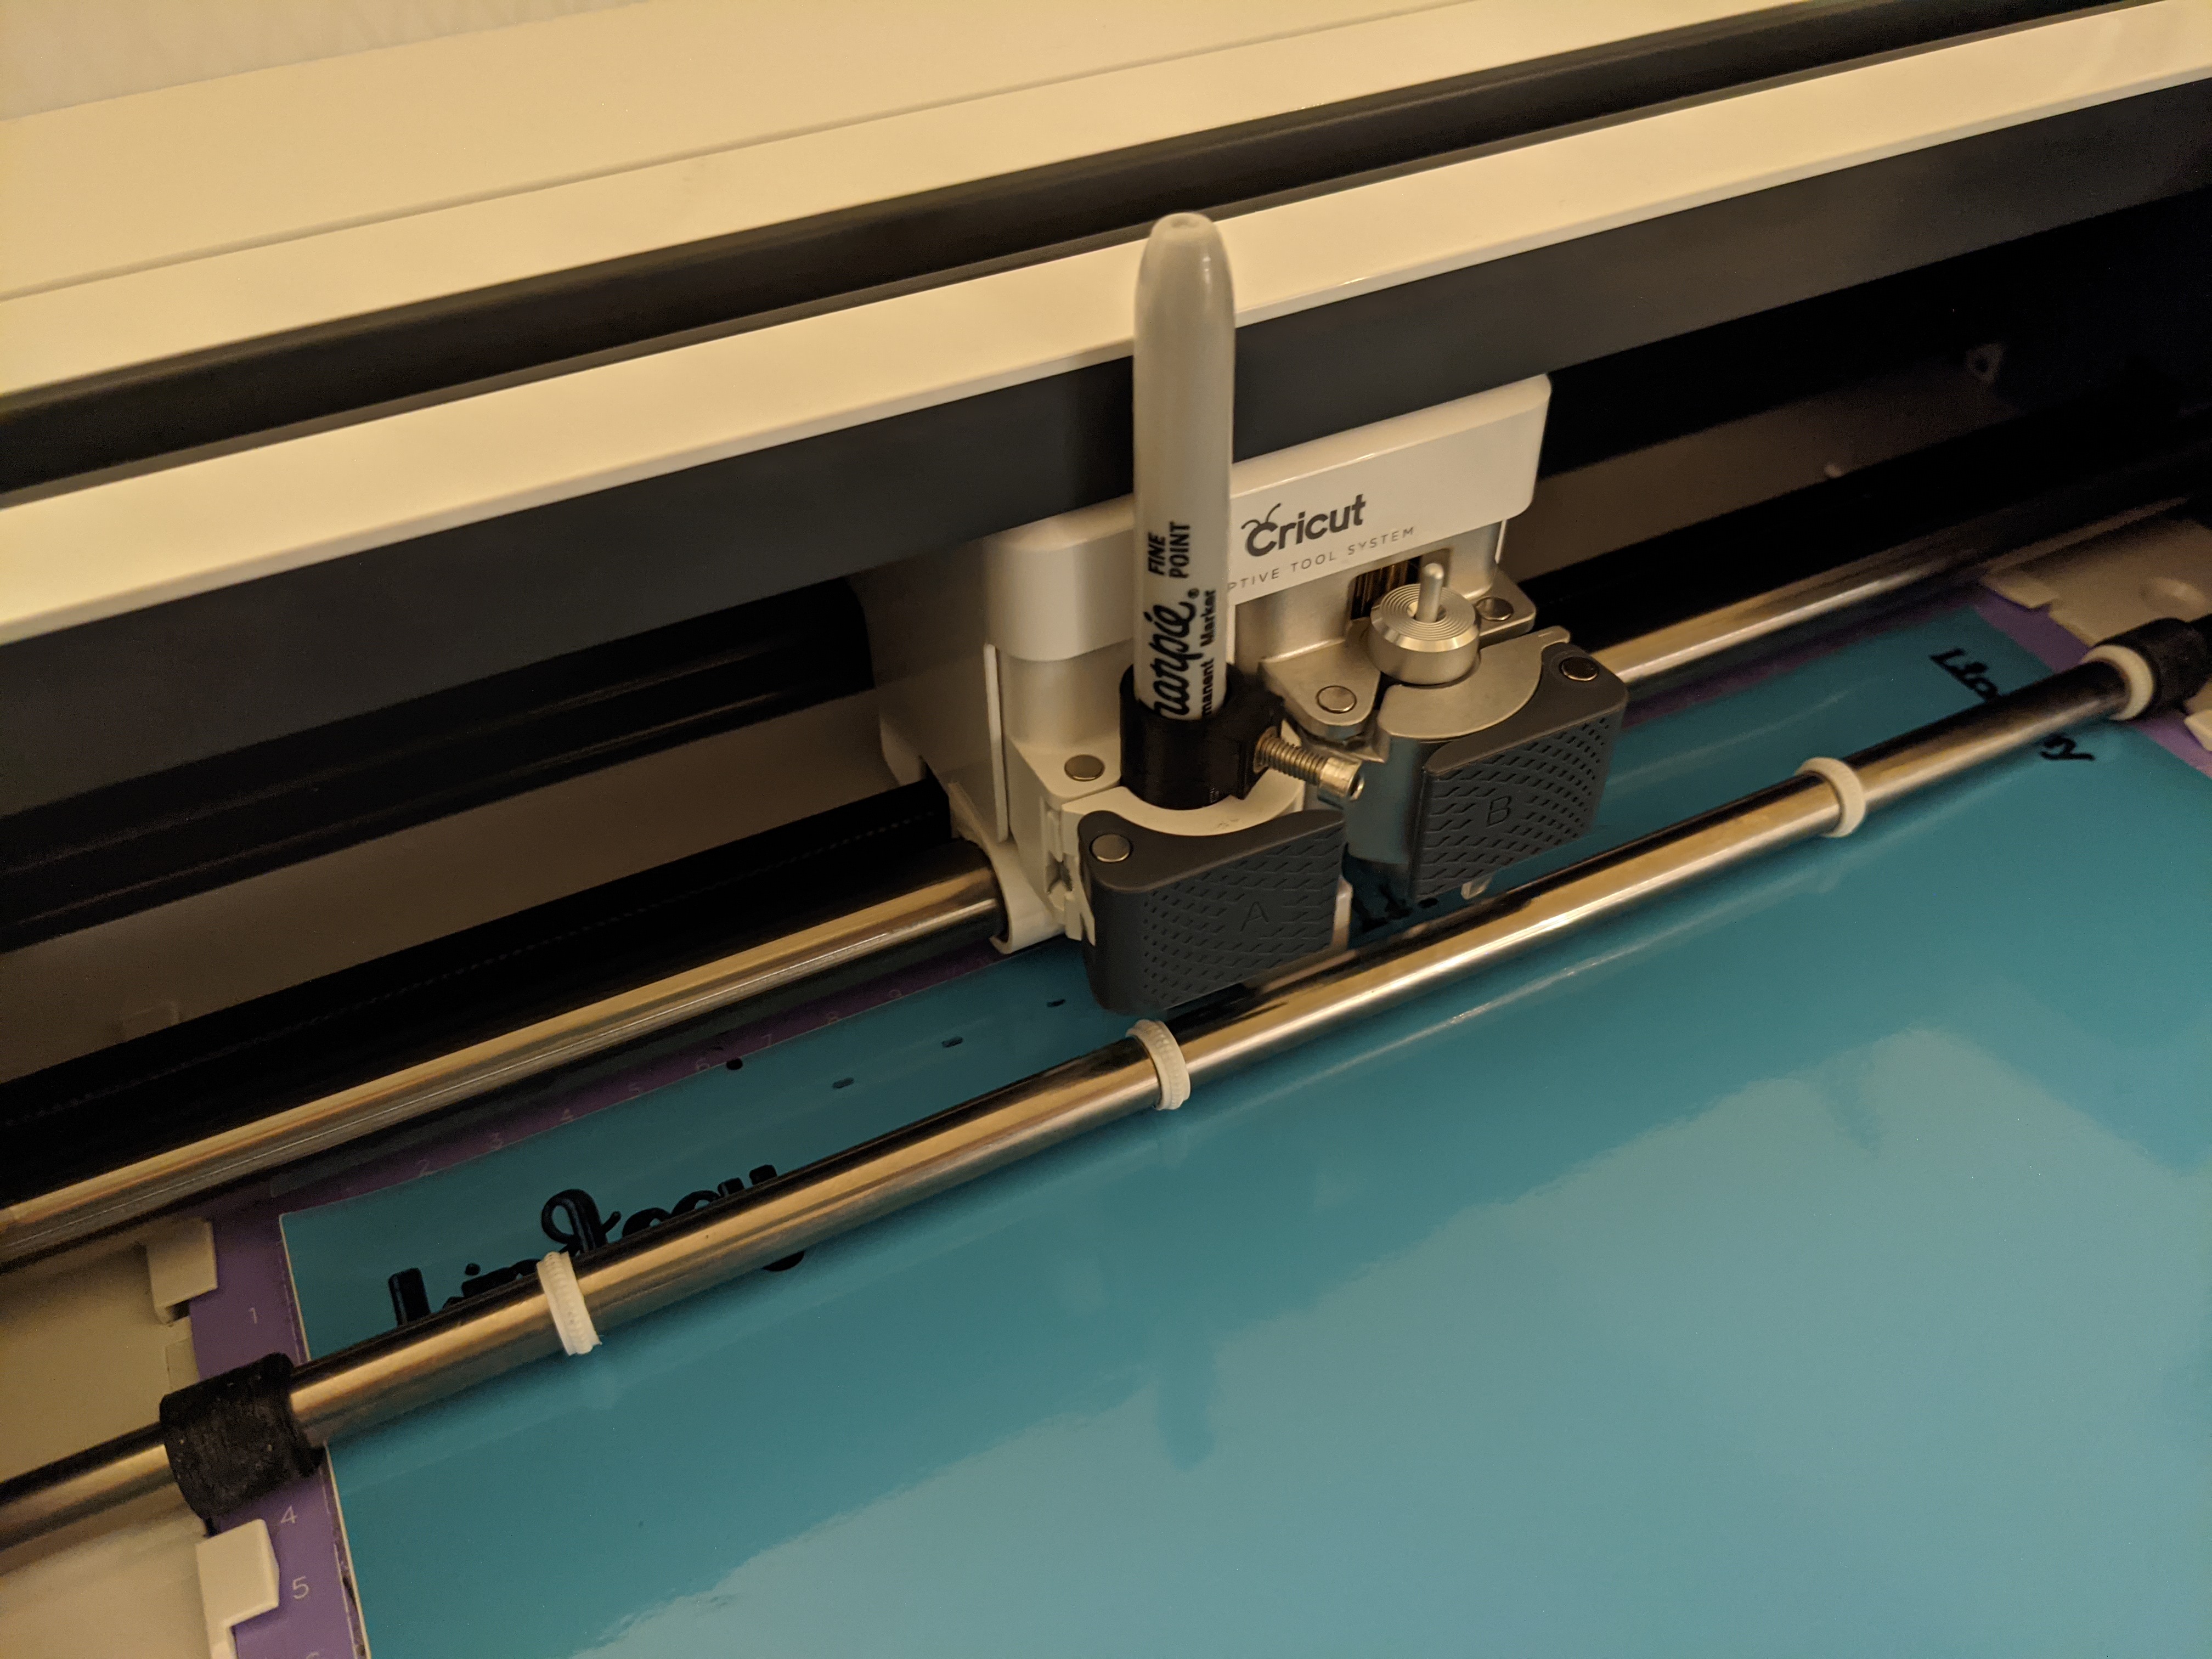
Print then cut! I use this cricut universal pen holder and a sharpie to make my name tags on vinyl. Super easy, super quick and if it comes off or starts to fade, I can quickly whip up a new one, or just have a little stockpile from making them last time. I usually make multiple sizes when I do it and use names and initials as necessary.
Here are my step by step instructions:
- Open the Cricut Design Space application and start a new project
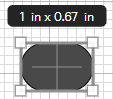
- Pick a shape and make it the size you want.. I prefer the free shapes in design space but choose whatever you’d like. You can get real creative with fancy shapes for your labels !
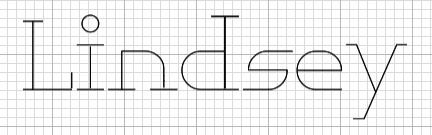
- Begin a “text” and pick a writing font – I used ‘High Tide’ for these, but I have also used ‘Poker Night’ in the past and that one works well too.
- Write the name and resize it so that it will fit within the footprint of your shape.
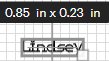
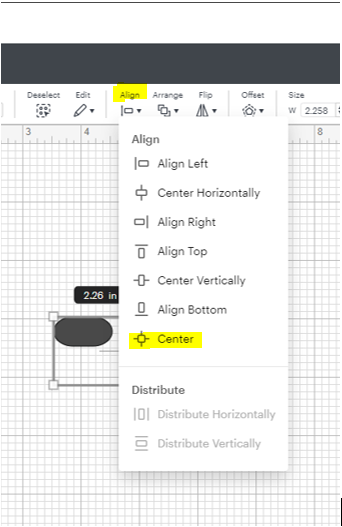
- Move the writing into the shape – I like to do this by selecting both shapes and using “align”. This allows you to center the text within the shape.
- Then attach!

- Finally, “Make it”
This is a super simple method of making quick Cricut name tags and labels. While your at it and going through the effort, make sure you print out exras so that they can be used on other items or to replace damaged ones.